Friends! We’re another week into this wild world rodeo and we’re doing it!! We’re making it. I shared more honest thoughts in my last post about how we’re coping at our place, but overall, taking a step back and realizing that we’ve completed another week into this “adventure” makes me want to give you a HIGH-FIVE and a hug and, as we head into another week, to jump into the deep end again with you. Especially into teaching and engaging with your kids. Like I said in my intro to our first lesson, Germs 101, this crisis is giving us time to connect with our kids in such unique ways — let’s capitalize on this time! Get on your kids level and teach them and learn with them. You’ll be glad you did.
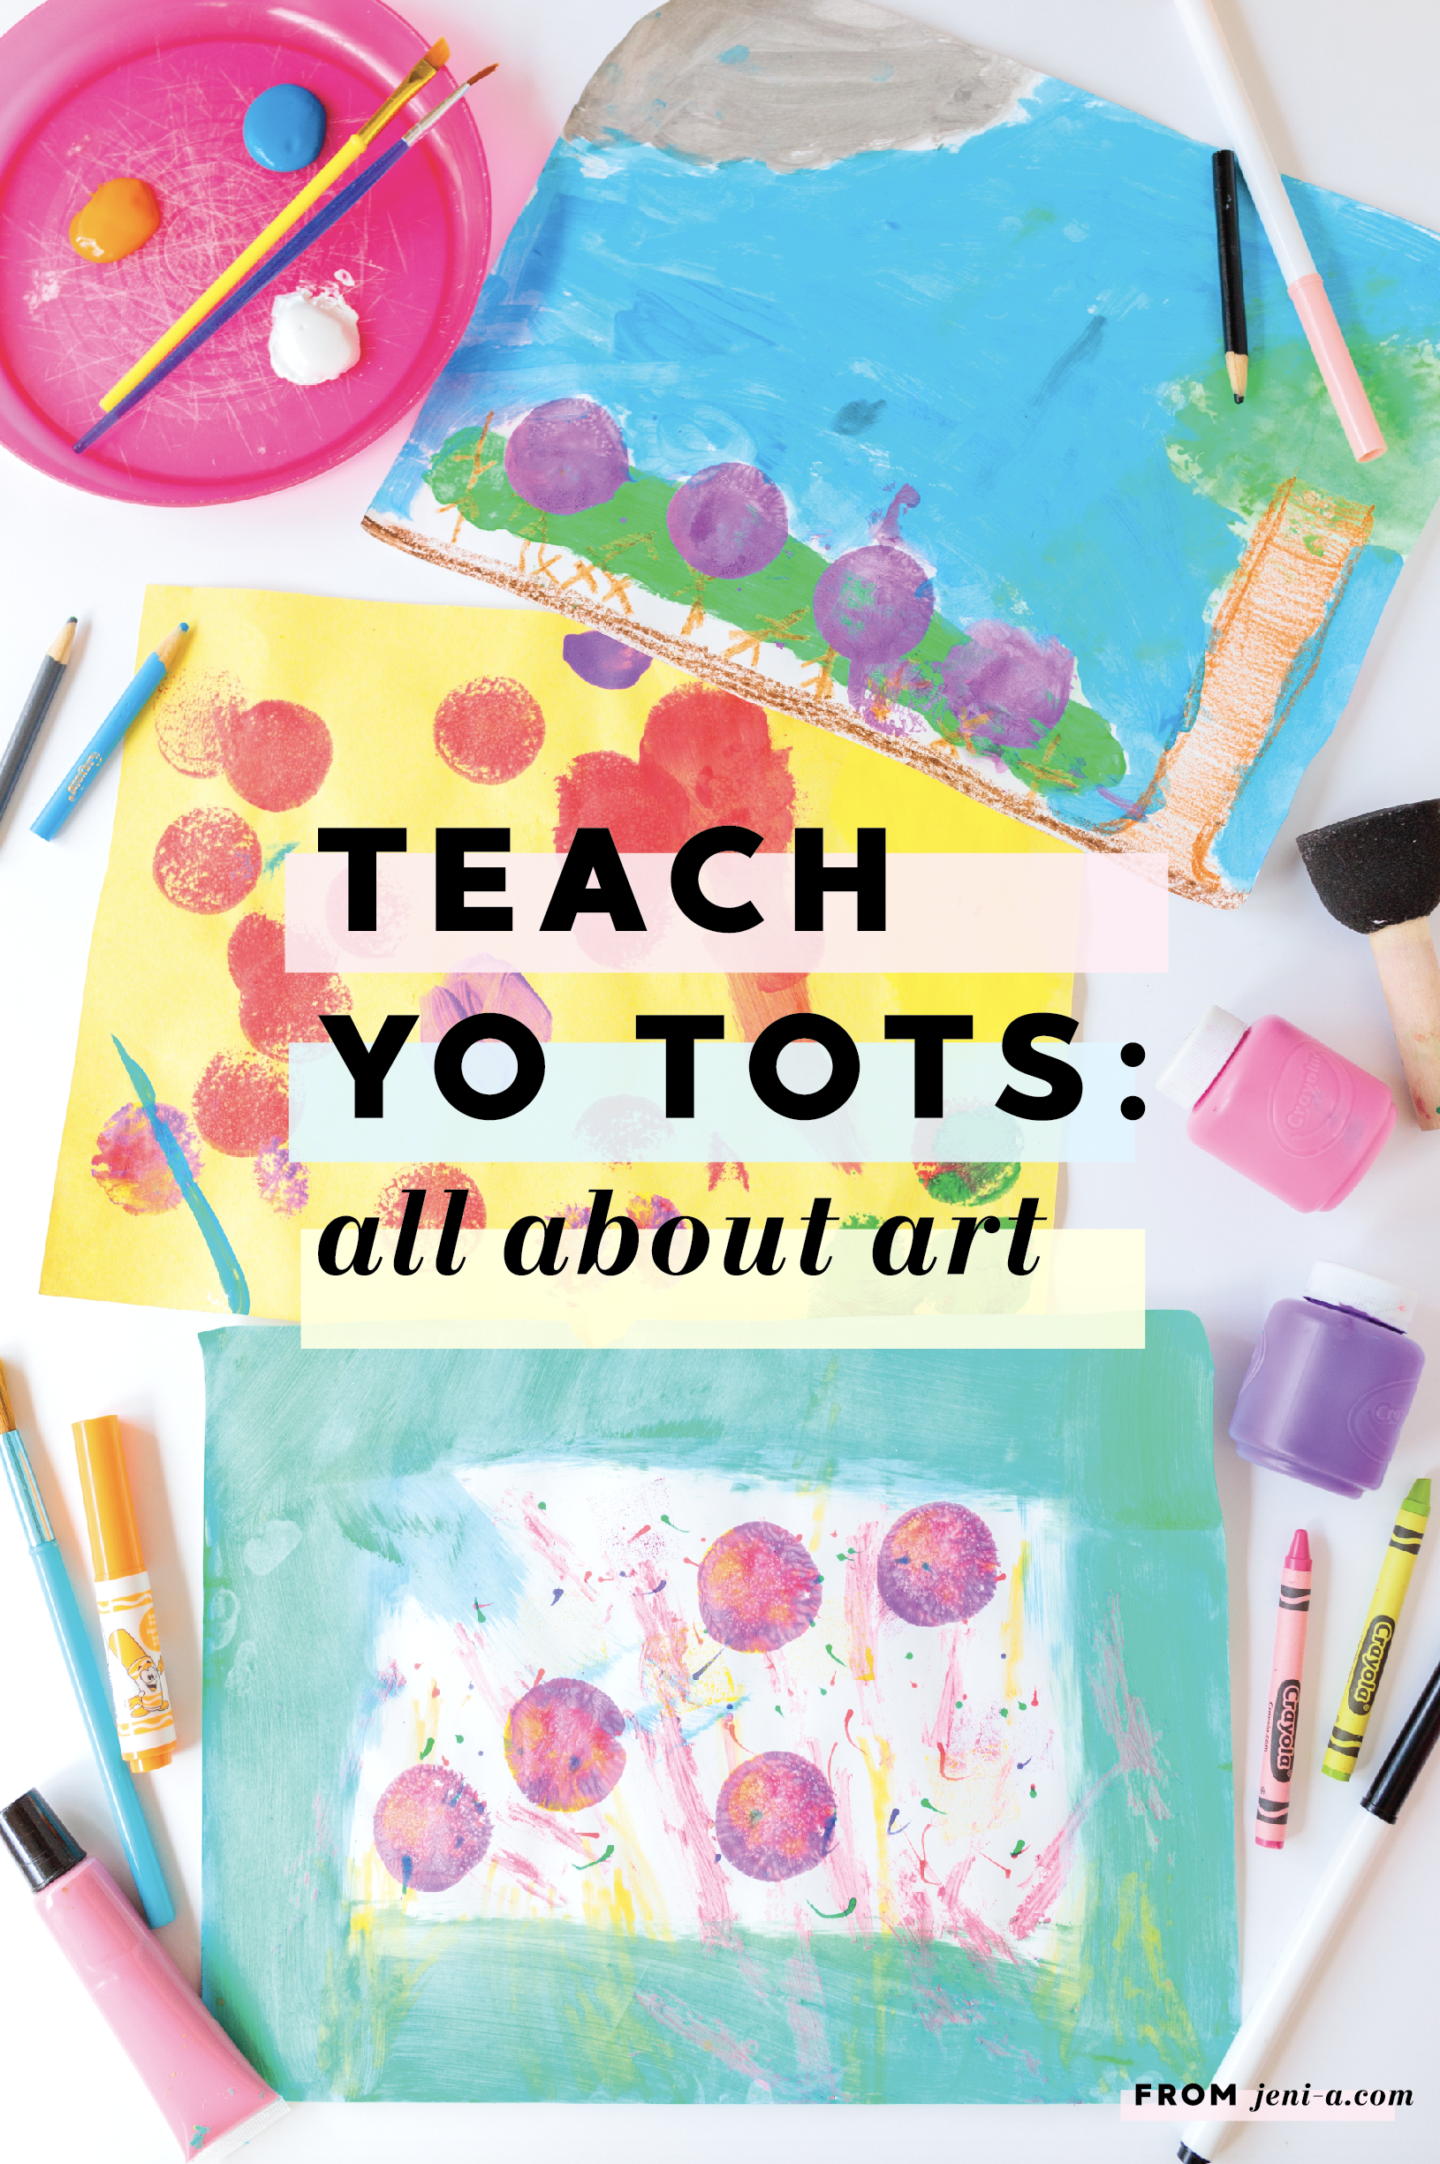
I’m so excited to share today’s at-home lesson – TEACH YO TOTS: Allll About Art! Today’s lesson is interactive, enlightening and hands-on and you can work through it pretty quickly. Let’s get started!
Here’s the lesson plan…
ALL ABOUT ART
Topcis covered: art, history
GROUP DISCUSSION
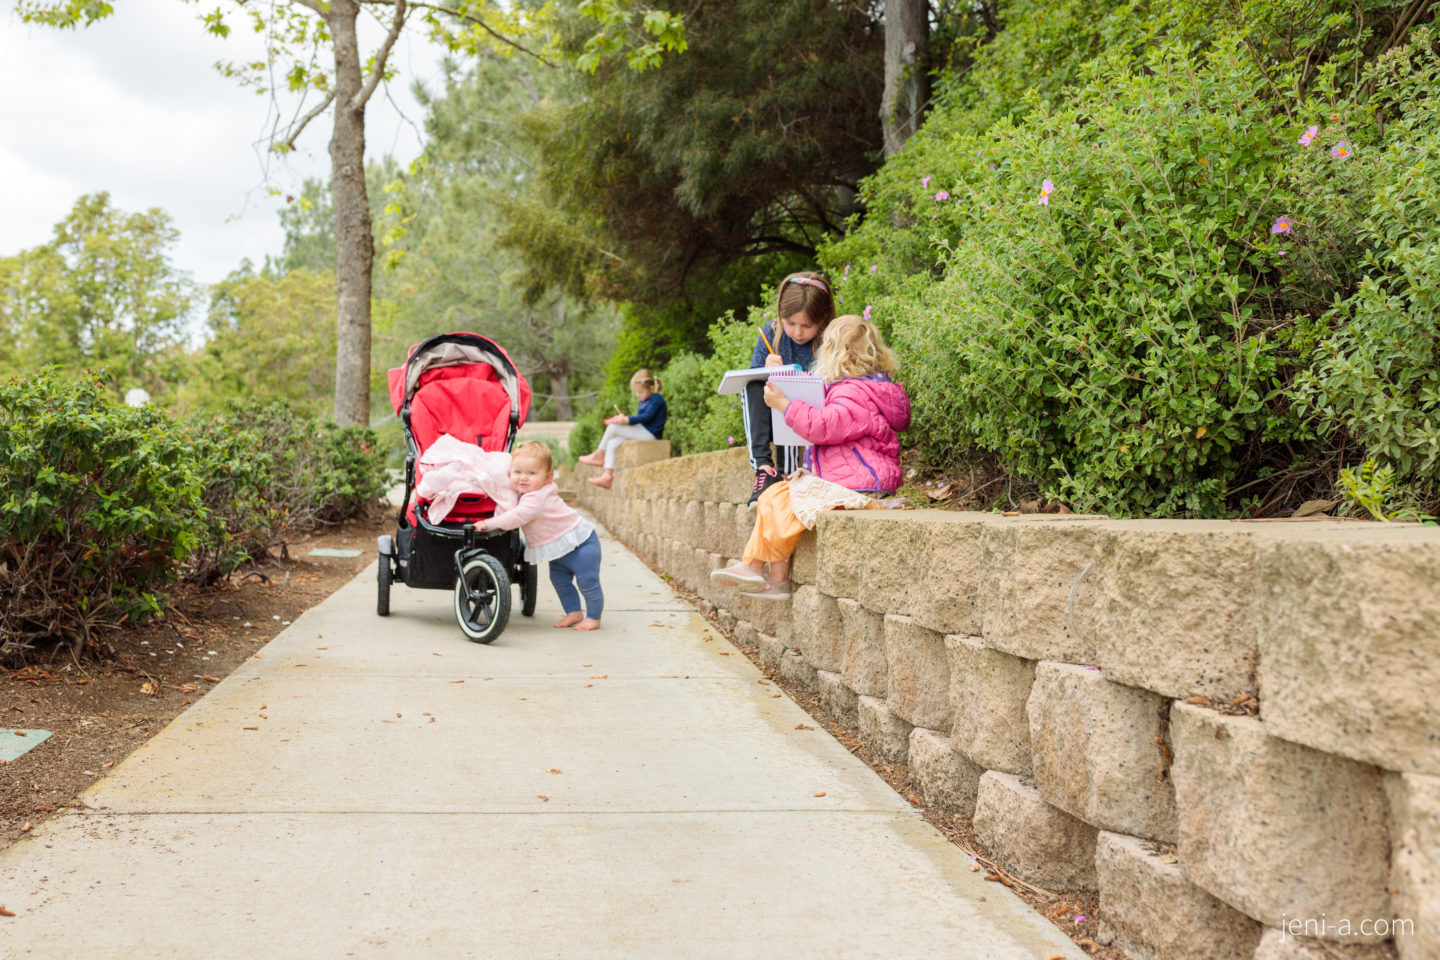
First of all, ditch the kitchen table for now, grab some paper and pencils, throw on some shoes and get outside for today’s lesson discussion. Get your kids out on a walk, and as you go, ask the following…
— What is art? Ask each of your kids to give a definition, and just enjoy their answers, because their answers will be GOOD. Any artist would tell you that defining art is like caging a wild lion – don’t do it! – it’s a beautiful animal that isn’t supposed to be tamed. 😉 In other words, there is no right or wrong answer to “what is art?” Olivia defined art as “Everything. Like it’s the trees, it’s the earth, it’s US, actually. I mean, Jesus made us and we’re so, so beautiful so that makes us art.” Claire’s definition was, “It’s making things. Like painting and coloring and drawing your own things.” Emmy had nothing to say :), but Olivia and Claire’s answers were perfect.
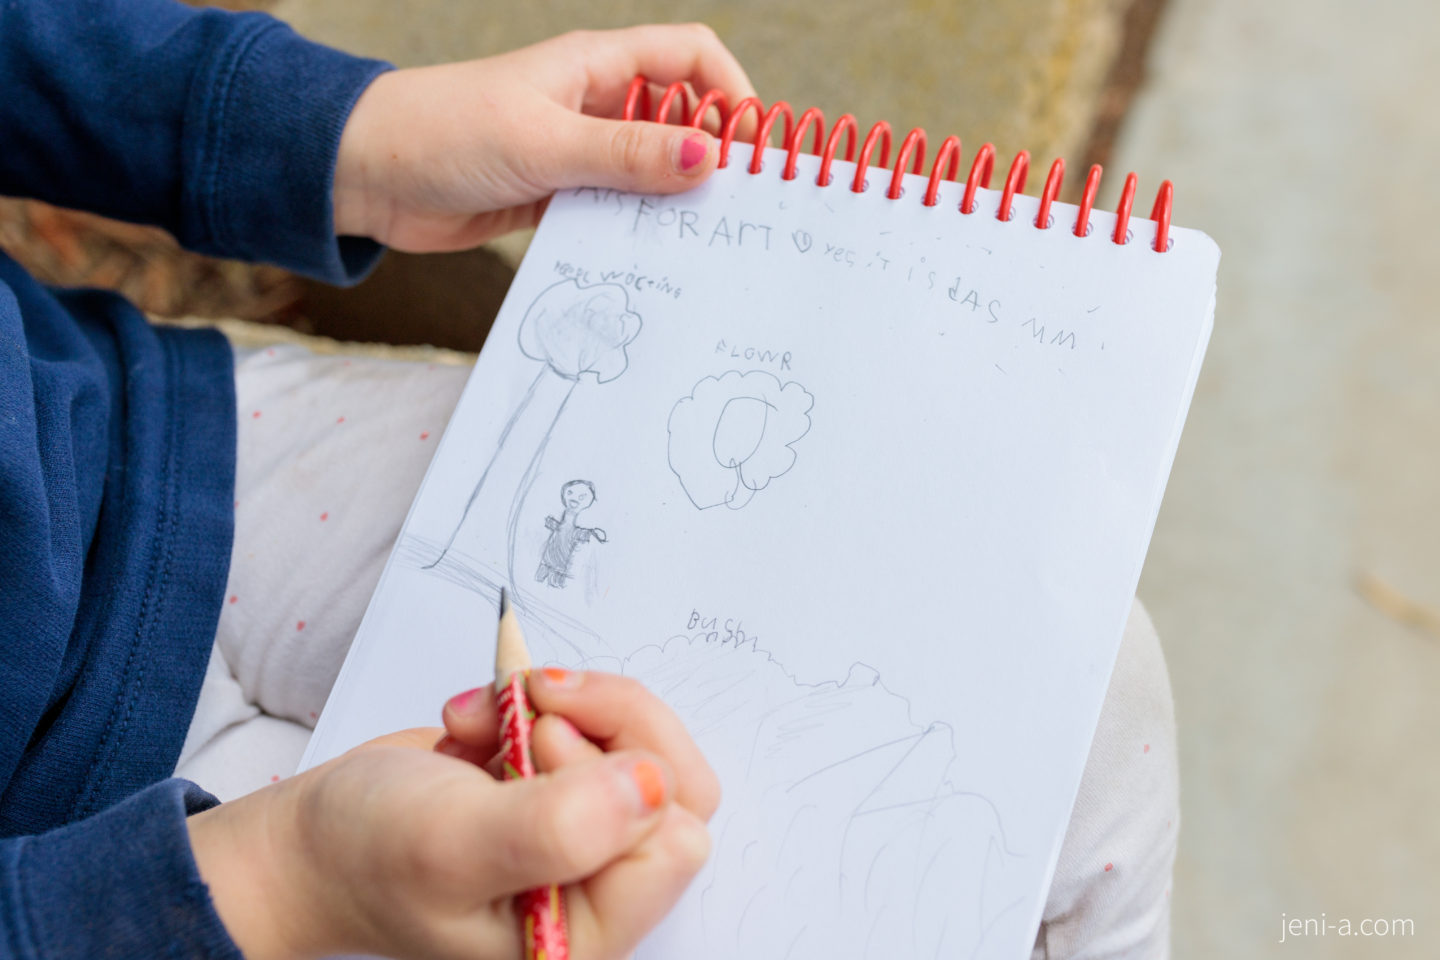
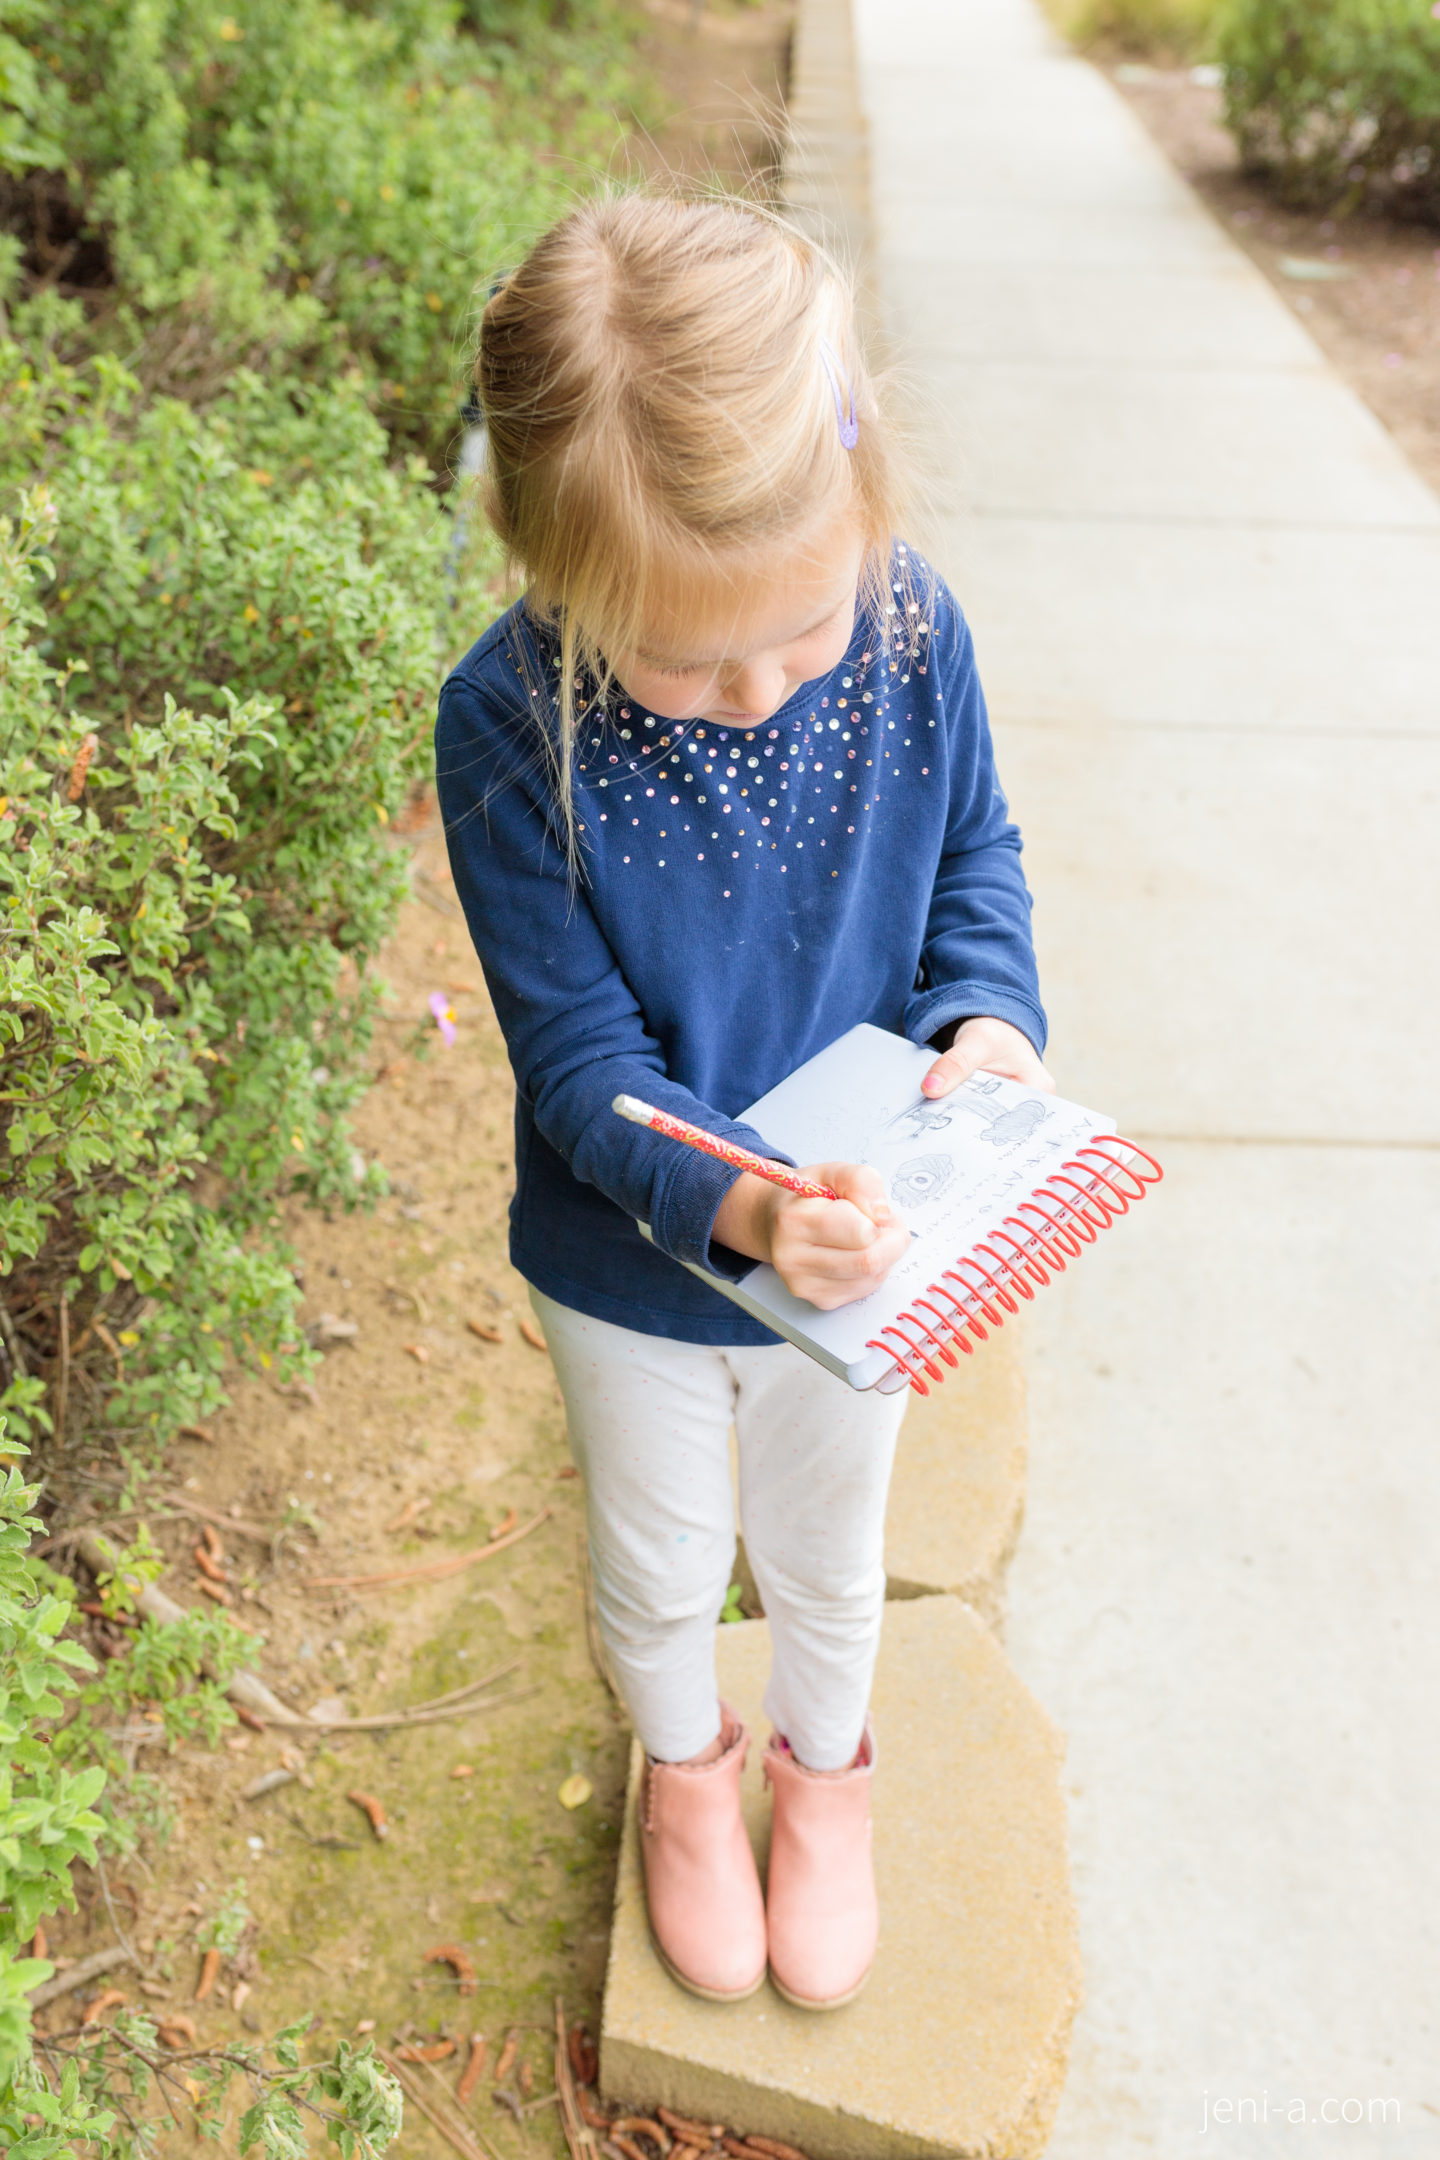
— Discuss their definitions/introduce “art plen air,” since you’re outside! Painting “plen air” means taking your studio outside, and it’s an age-old practice for artists. Artists often set up camp with their easel and tools right in the heart of their inspiration, so a forest or a lake’s side or in the mountains, and they create from there. And now, since you’ve been walking and talking, stop and sit and practice “art plen air” – use your pencil and paper and get to work at sketching something inspiring around you (you’ll take your sketch home and turn it into a painting next)! This was where we stopped to sketch…
Emmy’s inspiration 🙂
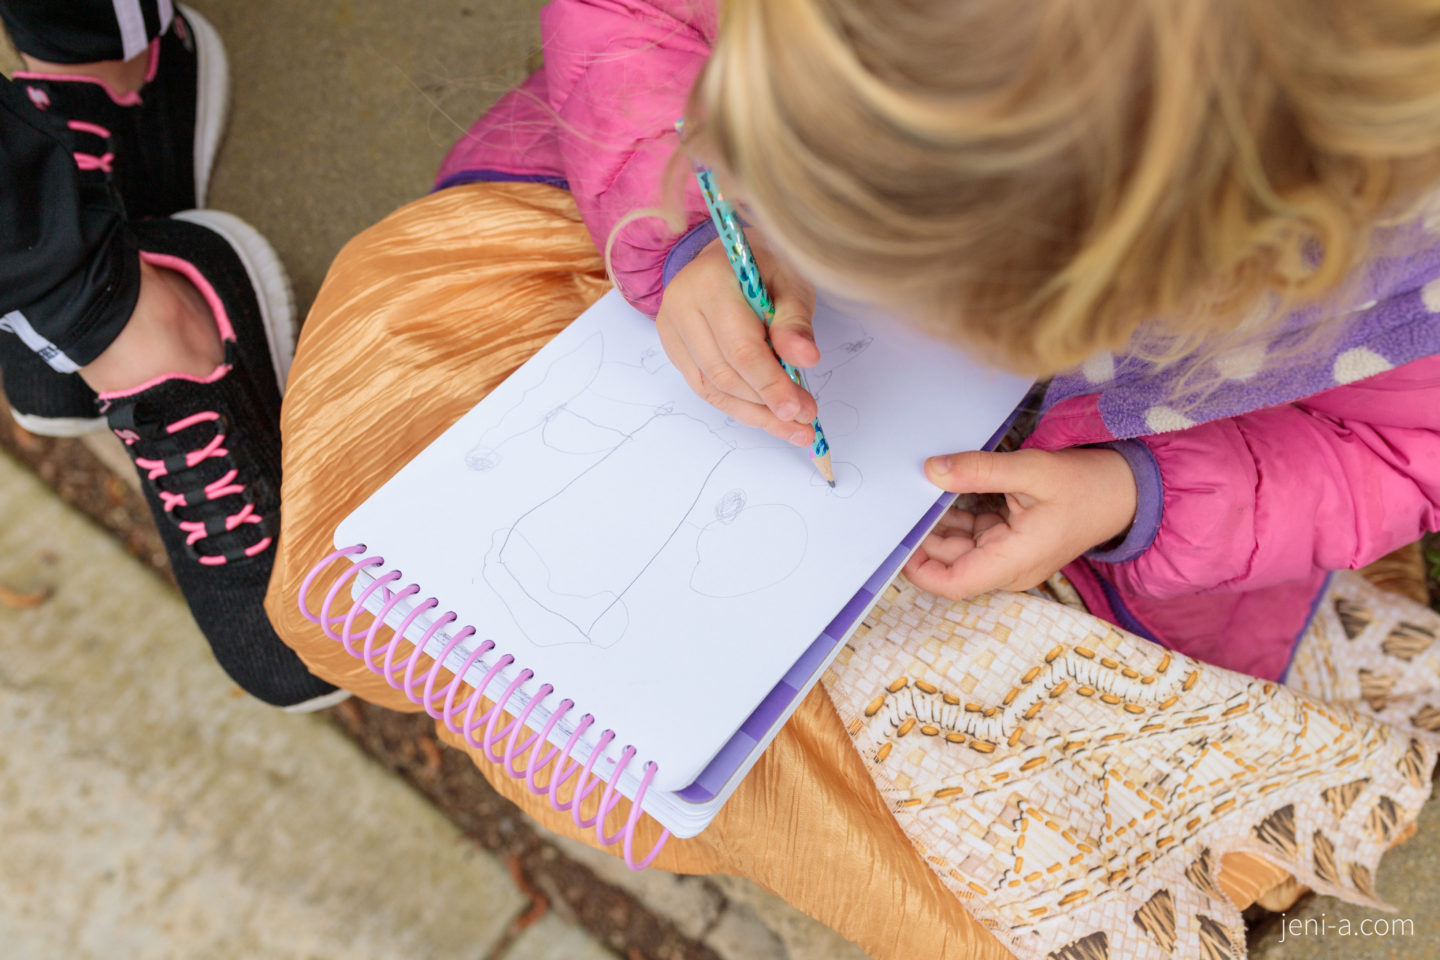
Olivia’s (I loved her key – she wanted to convert her sketch to her painting exactly)!
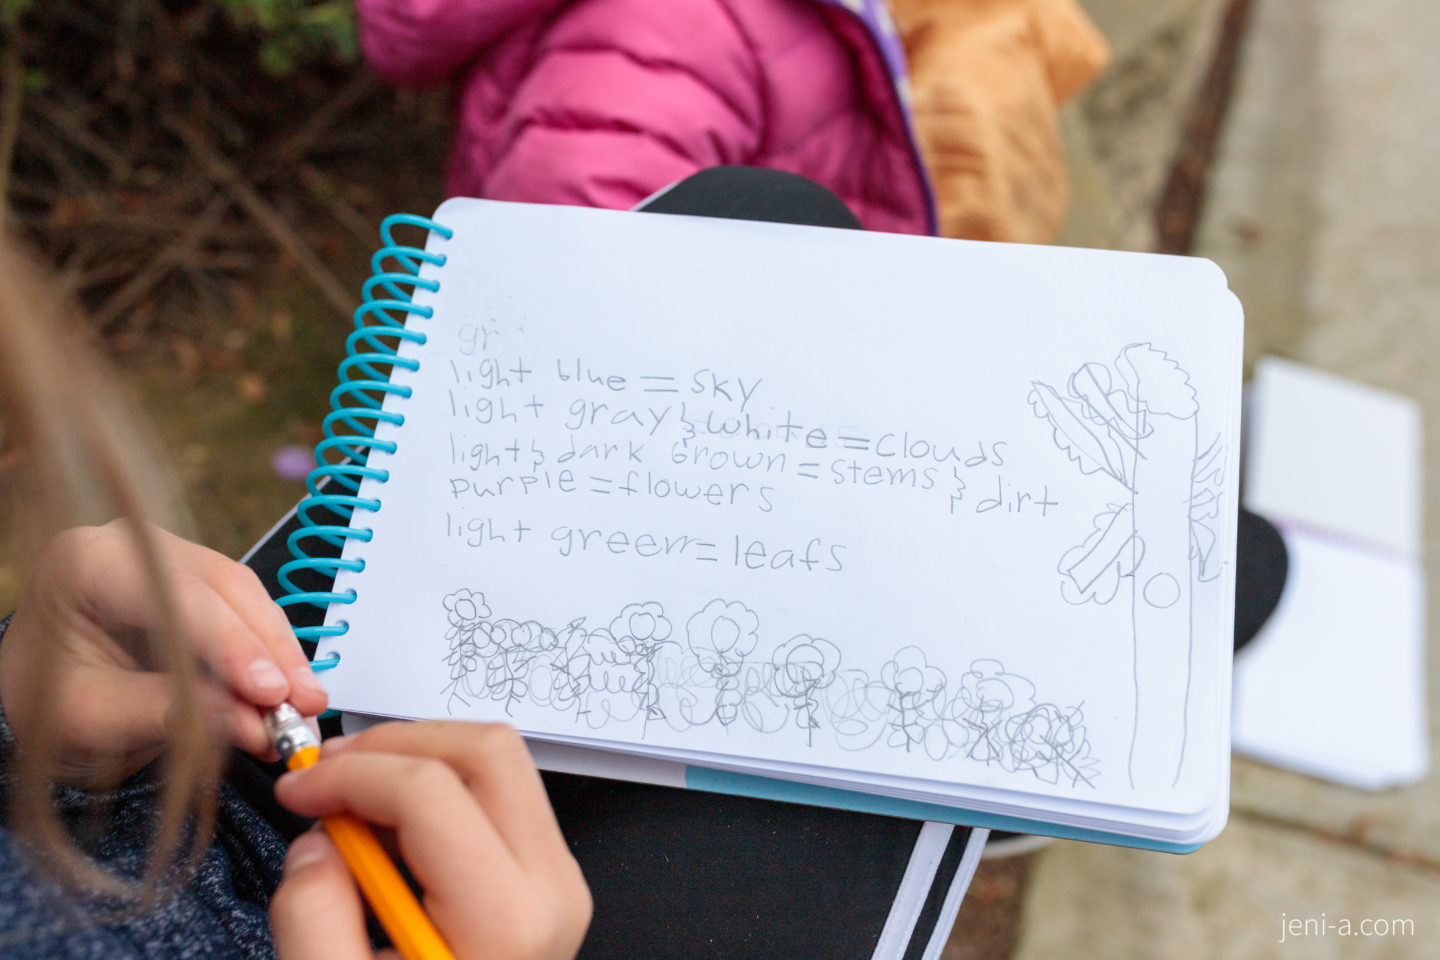
And Claire’s! I love how you can see that both girls were drawing what they could see – a tree, people walking on the opposite side walk, bushes with flowers – and that both of their drawings were similar but also individualistic. Art expressed is so much in that way. To each her own!
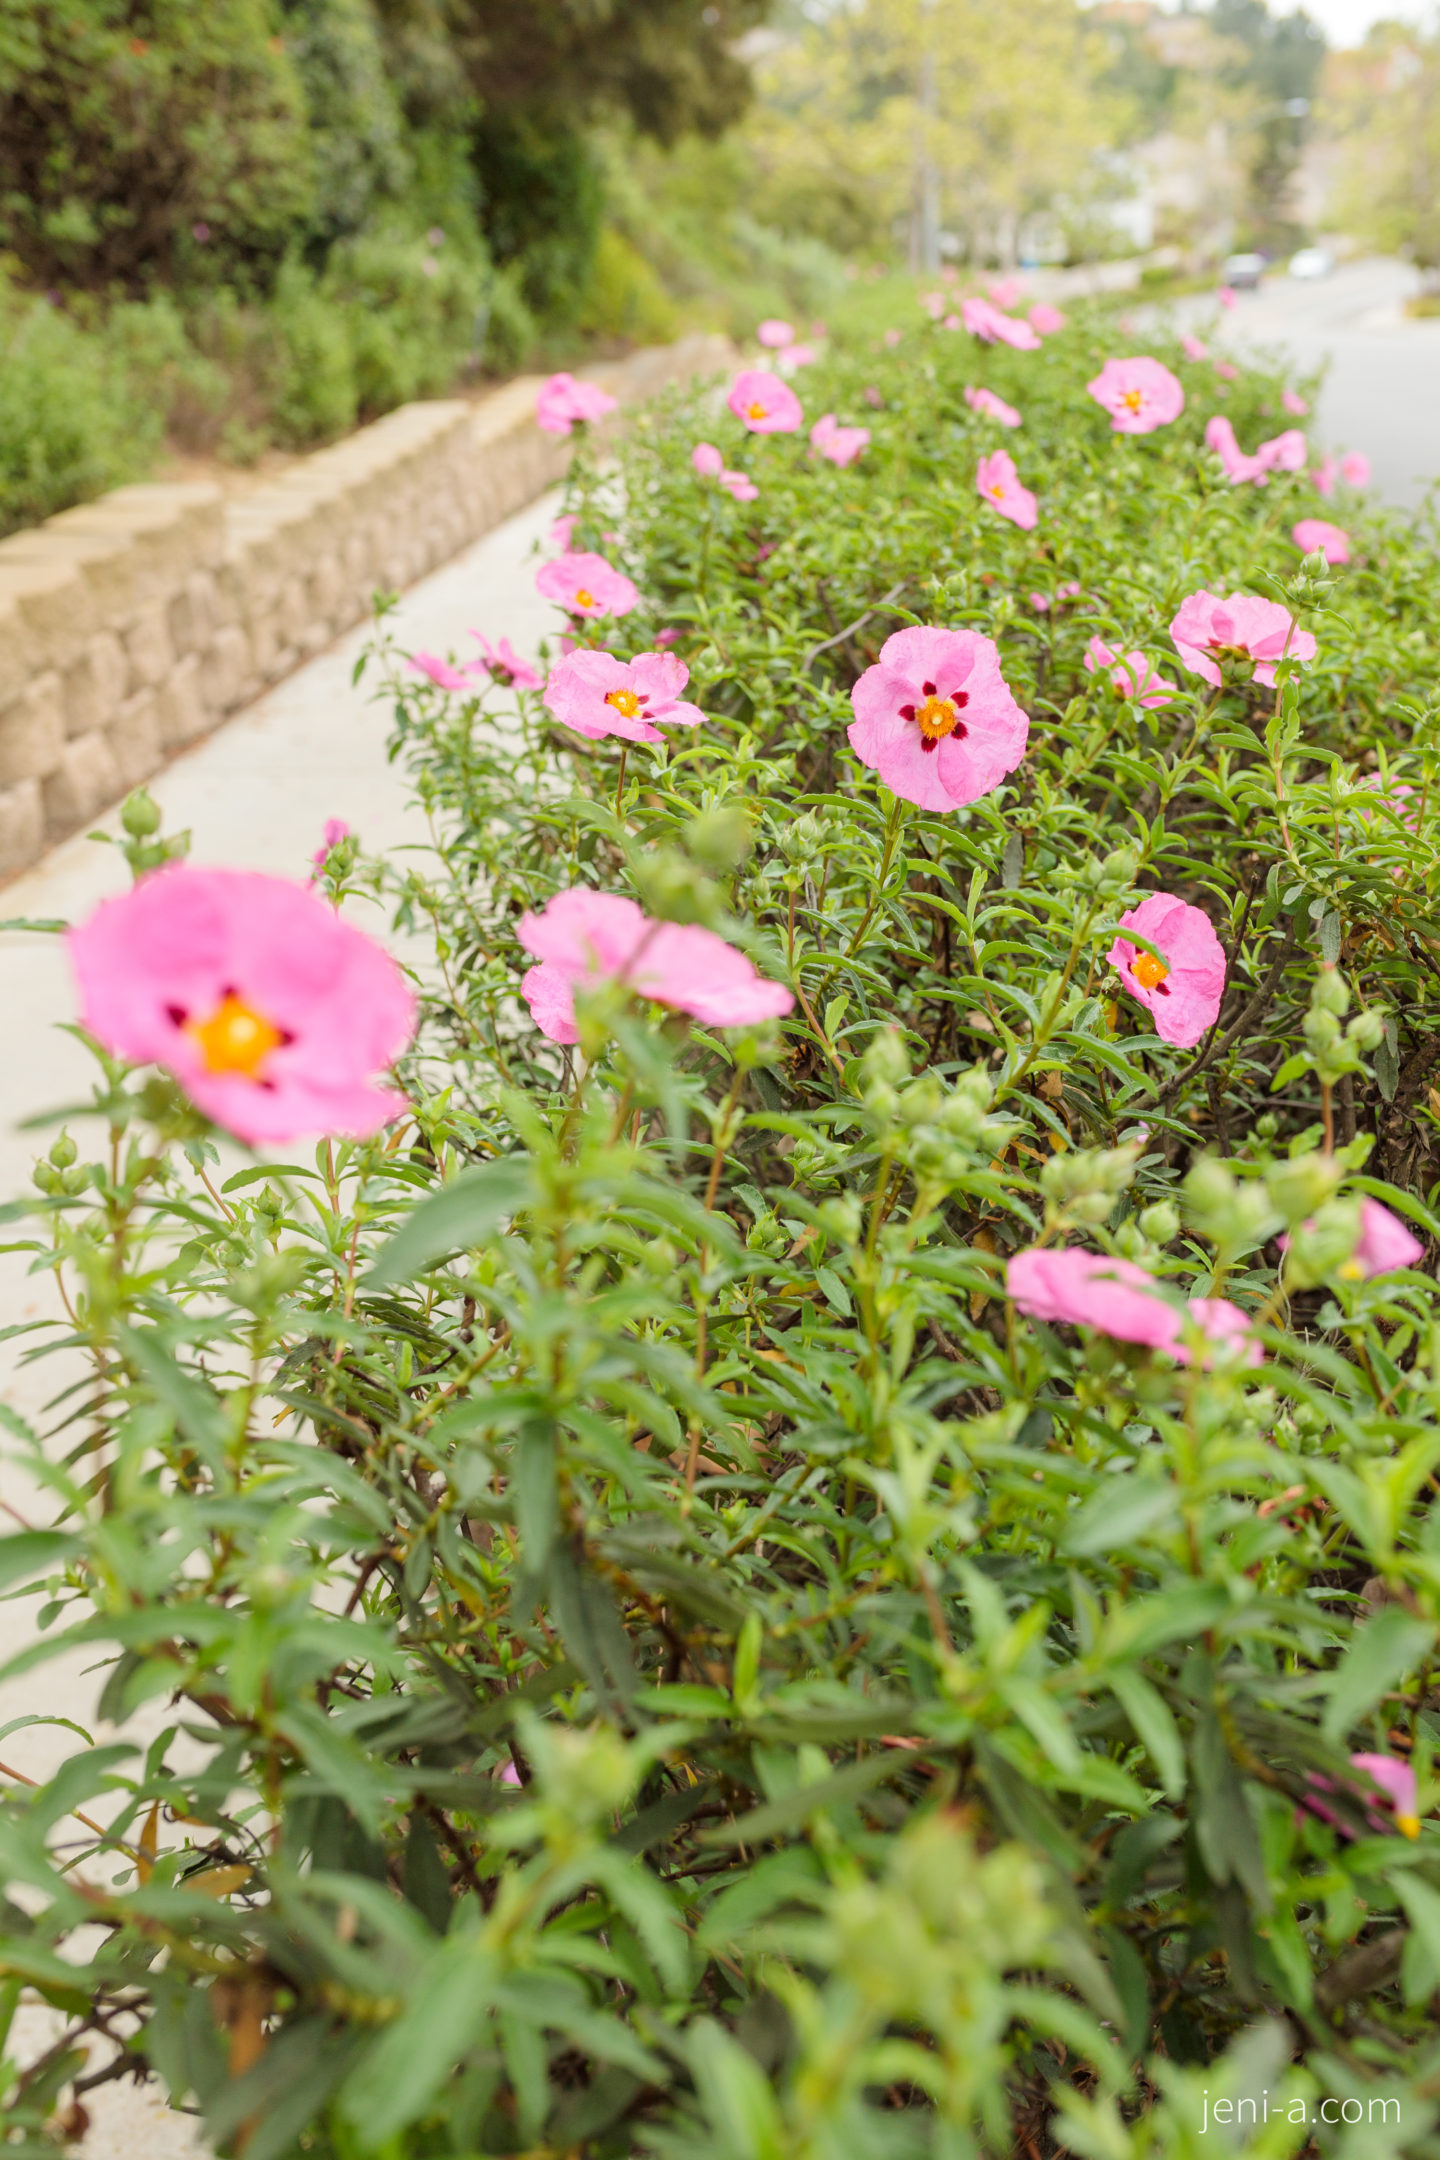
Oh there’s the pretty bush the girls were soaking in…
Oh and here’s our fourth class member taking it all in, too. Chloe!! Quit it with the cuteness, doll.

We sat there and sketched for as long as Chloe let us, which was about 15 minutes. Olivia and Emmy ran home pretty quickly as soon as it was time to go, but I had a hard time prying Claire away, which made me smile. Kids elbow-deep in creative zones is THE BEST.
Home again! Although before you get to work at creating a masterpiece of your plen air sketch, let’s talk “history” via three famous artists and their infamous works…
— Introduce the following famous artists and their works…
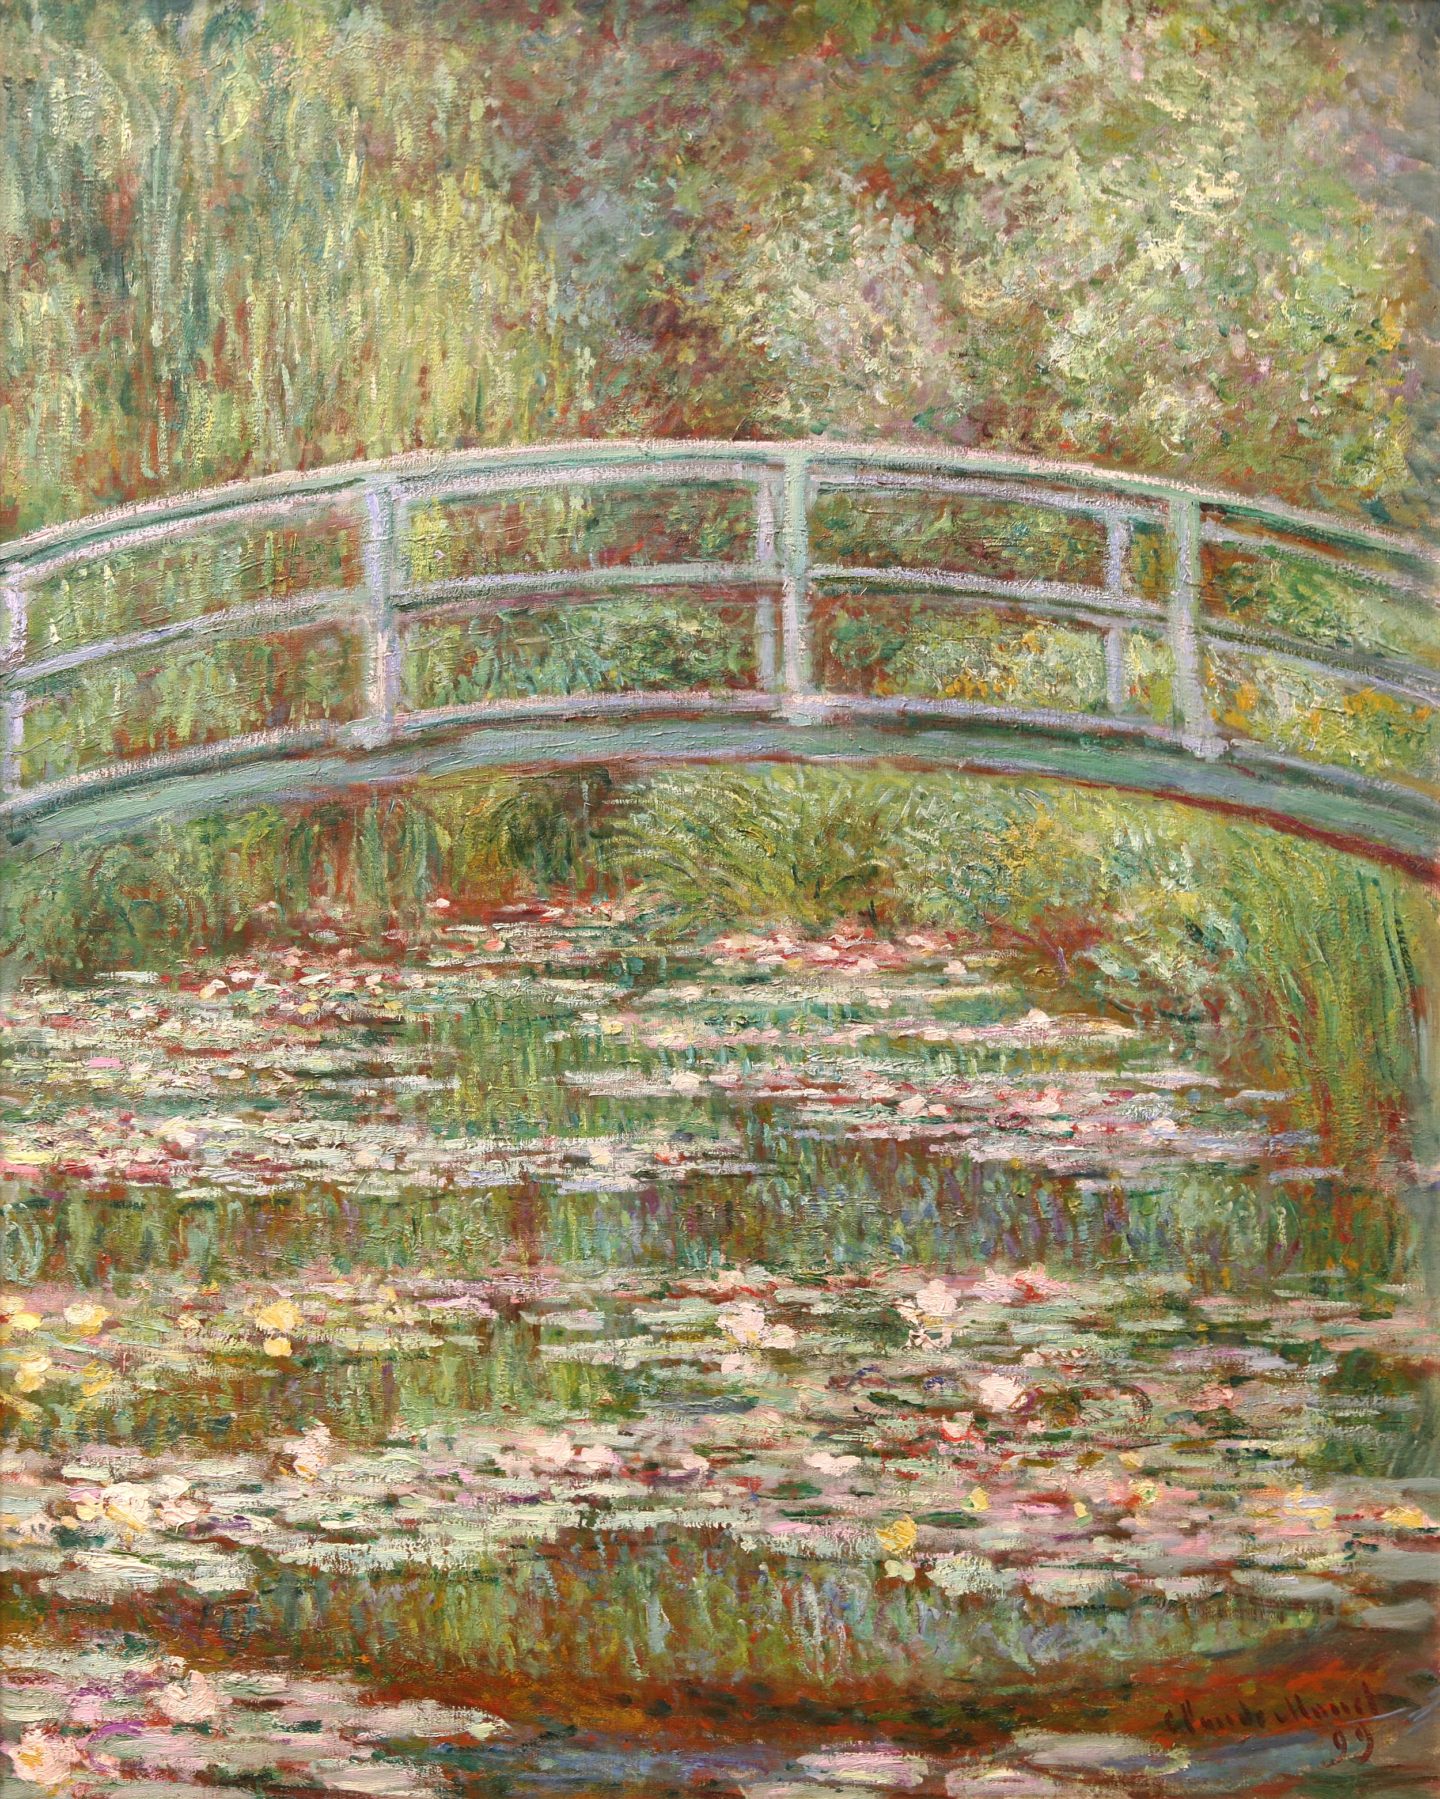
Claude Monet, The Water Lily Pond
Monet helped create a new way to paint around 1900 called “Impressionism.” Impressionism creates beautiful paintings. You can tell a painting falls under “Impressionism” when the overall painting isn’t very defined – like flowers don’t have distinct petals – but you can still tell what’s going on in the painting. Click on the link above to go to some of Monet’s works, and have your kids get close to the paintings. Take note of the brush strokes: they’re free-form, almost, and loose and not defined. But from far away, it’s clear what the artist created. That’s Impressionism!
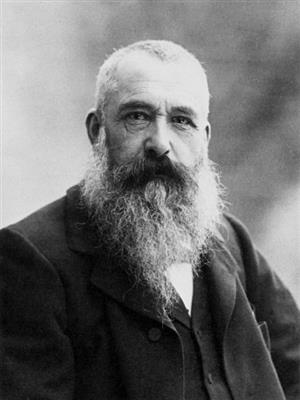
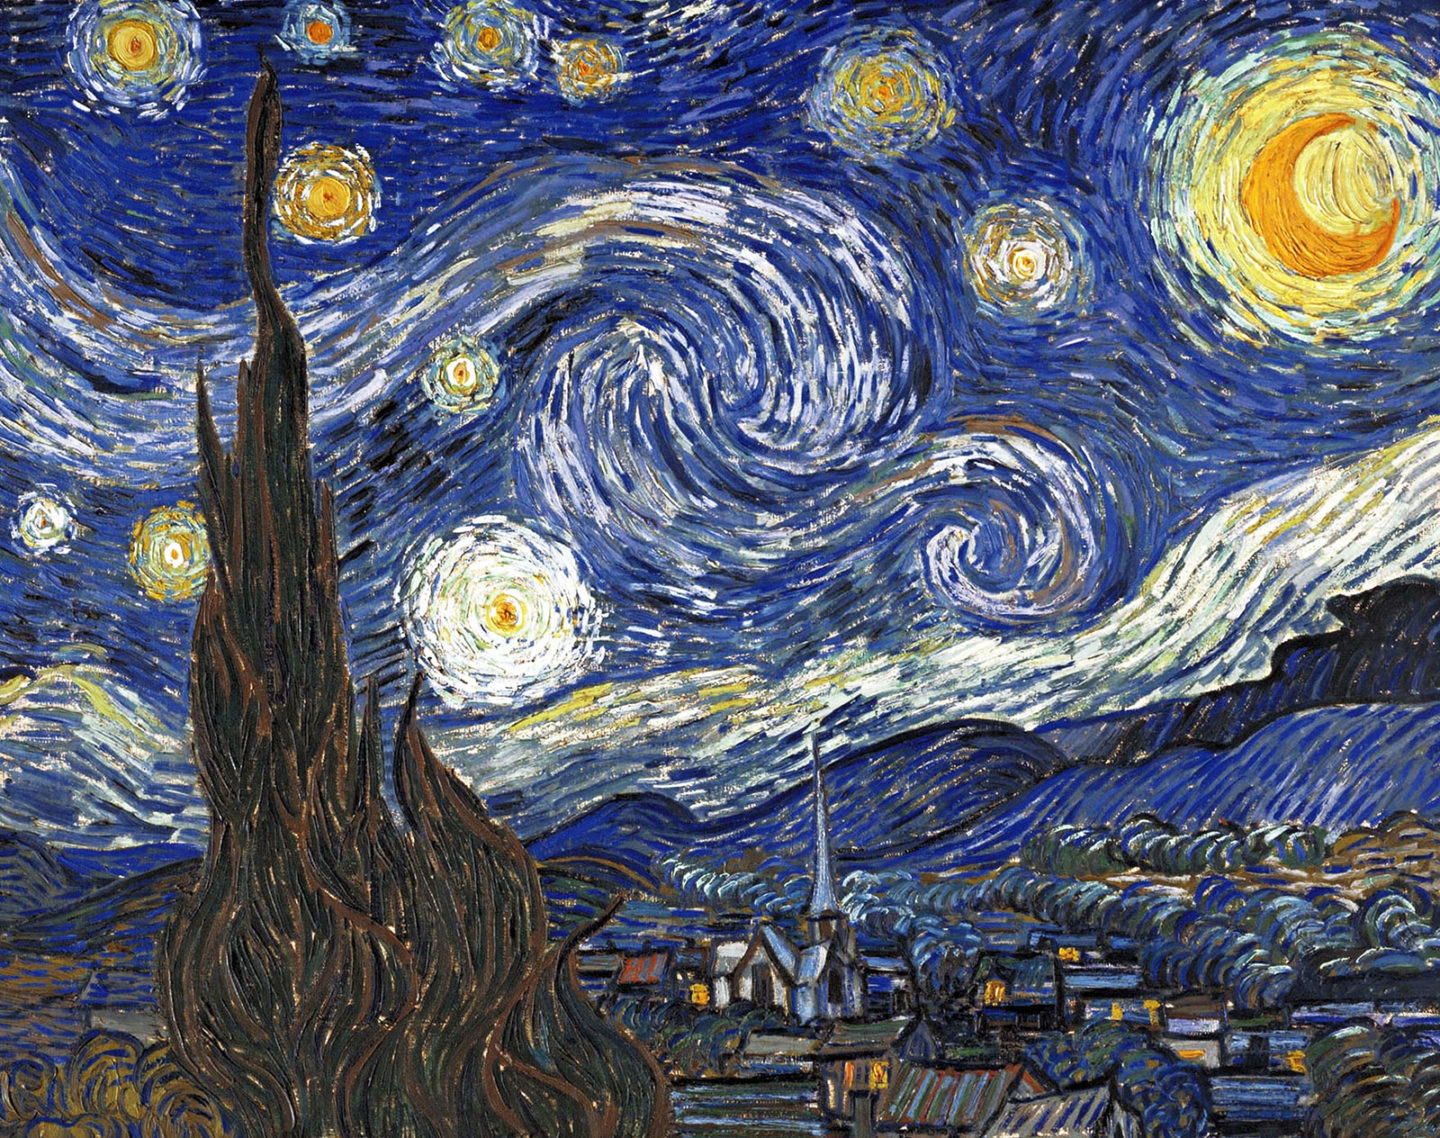
Vincent van Gogh, The Starry Night
Next up – Vincent van Gogh! Ask your kids if they’ve heard of van Gogh and his famous piece, “The Starry Night” (they may already know). Van Gogh was a Post-Impressionism artist; he was at the tail-end of when Impressionism was the popular way to paint. Talk to your kids about how you can tell that van Gogh was in the Post-Impressionist era by the way his paintings looks. IE, “The Starry Night” has both loose, free brush strokes and defined lines that create the overall image (the stars in the sky don’t have “star” shapes, but the houses in the village are defined houses). Teach that art, like history, has “eras”: different years are marked by different styles. Which takes us to an older era and style with…
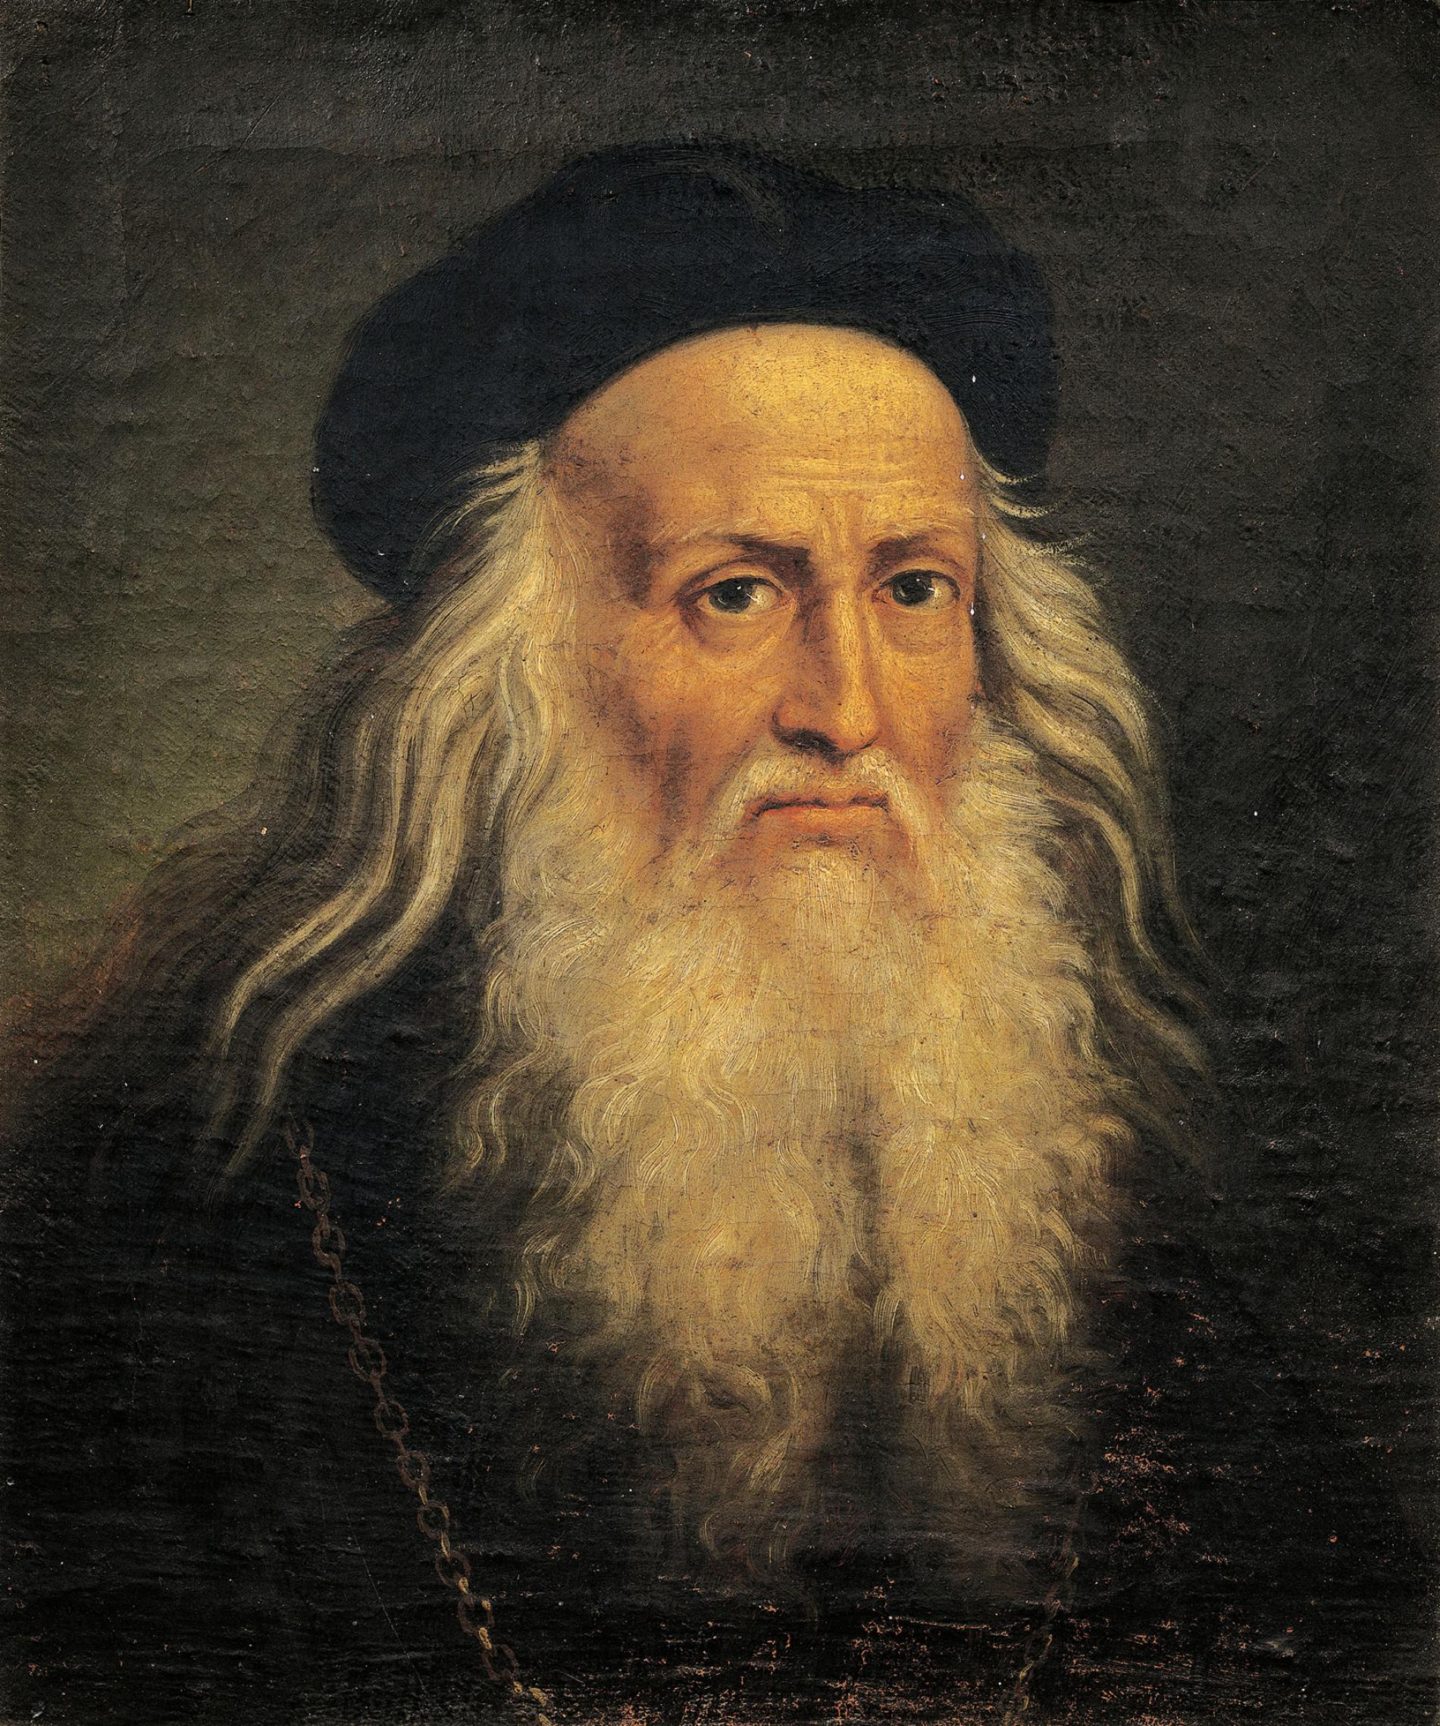
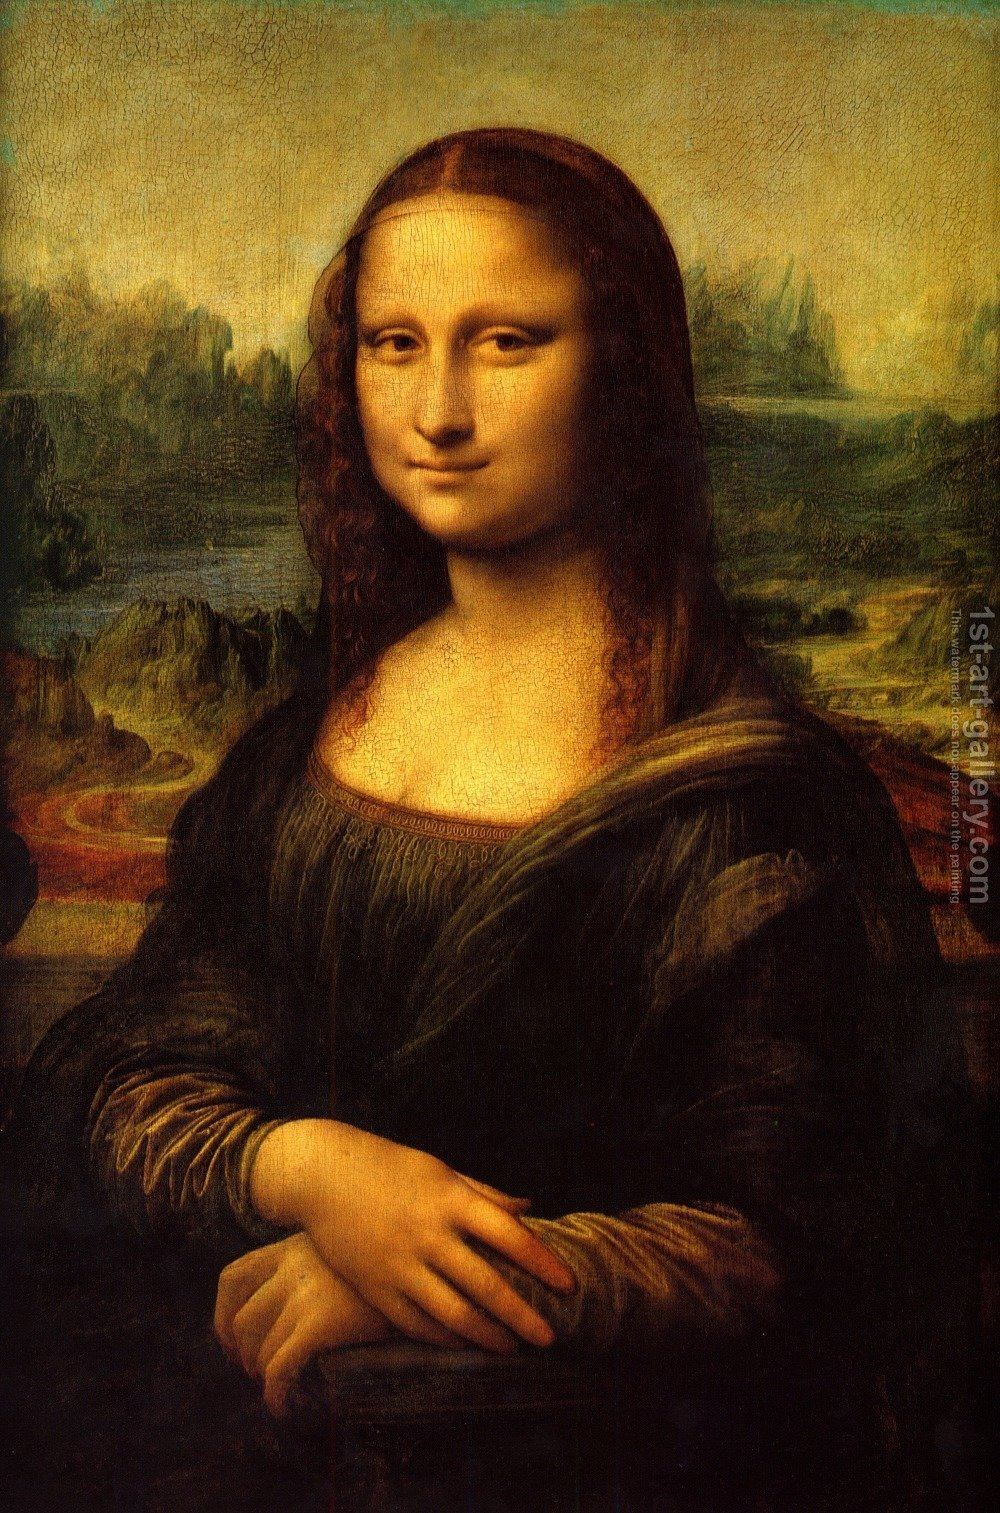
Leonardo da Vinci, Mona Lisa
Da Vinci! Olivia knew about van Gogh but not about Da Vinci, which surprised me! It’s likely that everyone knows about Da Vinci and his famous portrait, Mona Lisa. Da Vinci was an Italian oil painter from the Renaissance era (and he was an inventor, musician, geologist, cartographer — the term “Renaissance man” came about because da Vinci literally did everything 🙂 ). Have your kids analyze the differences between the Mona Lisa and the Impressionist works above. Note the fine, clear lines in the Mona Lisa versus the loose strokes of The Water Lily Pond. They’re different! Which is one reason art is so much fun. Going back to the beginning of the lesson, there is no wrong way to “do art.” All of it is good. 🙂
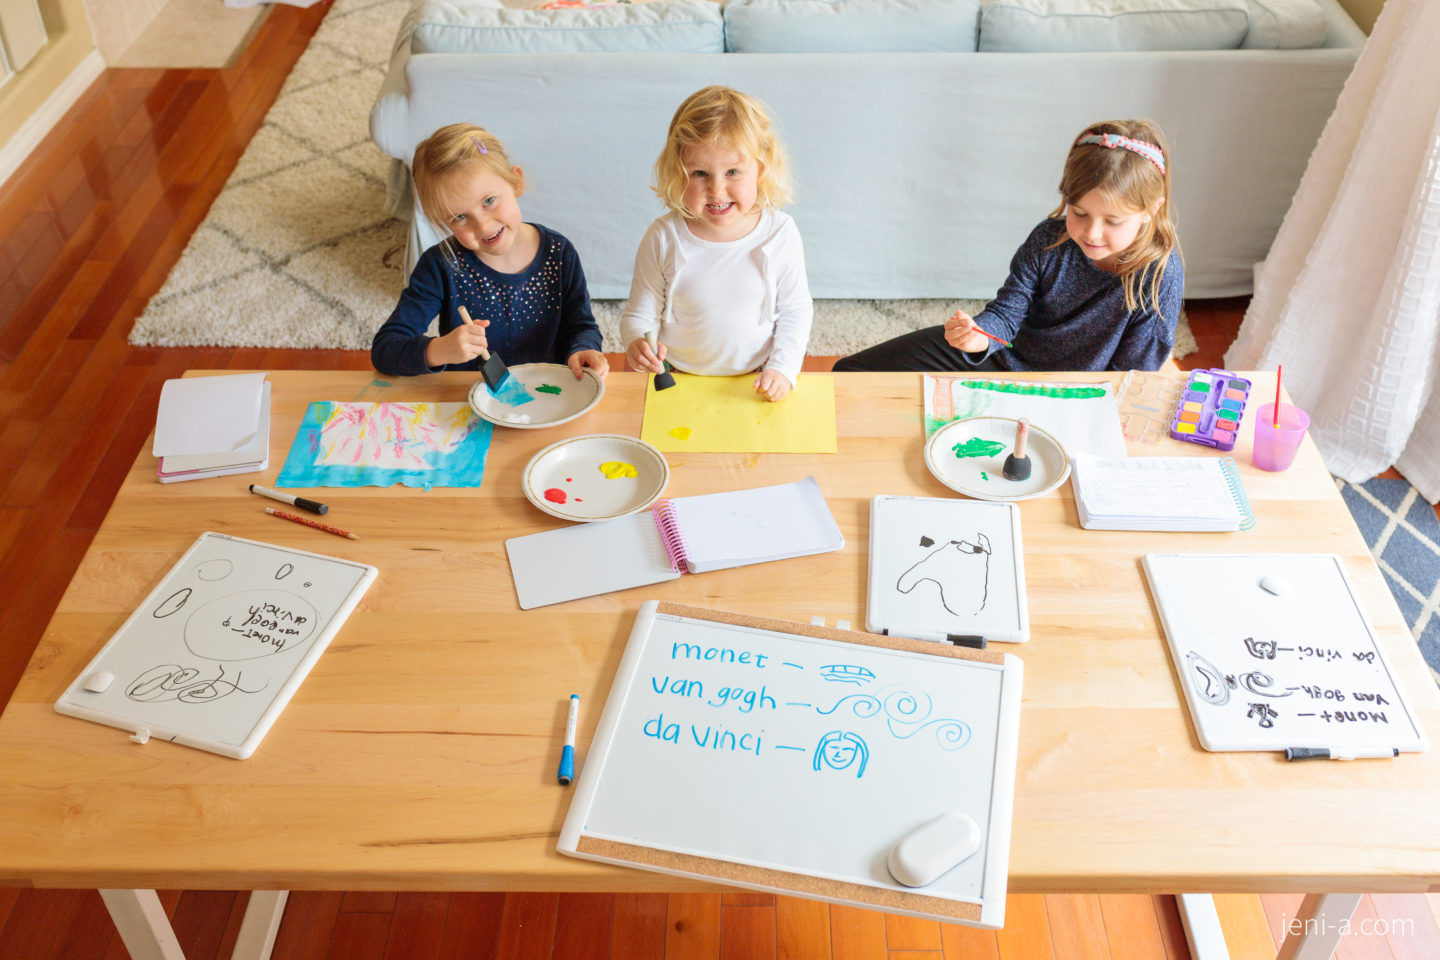
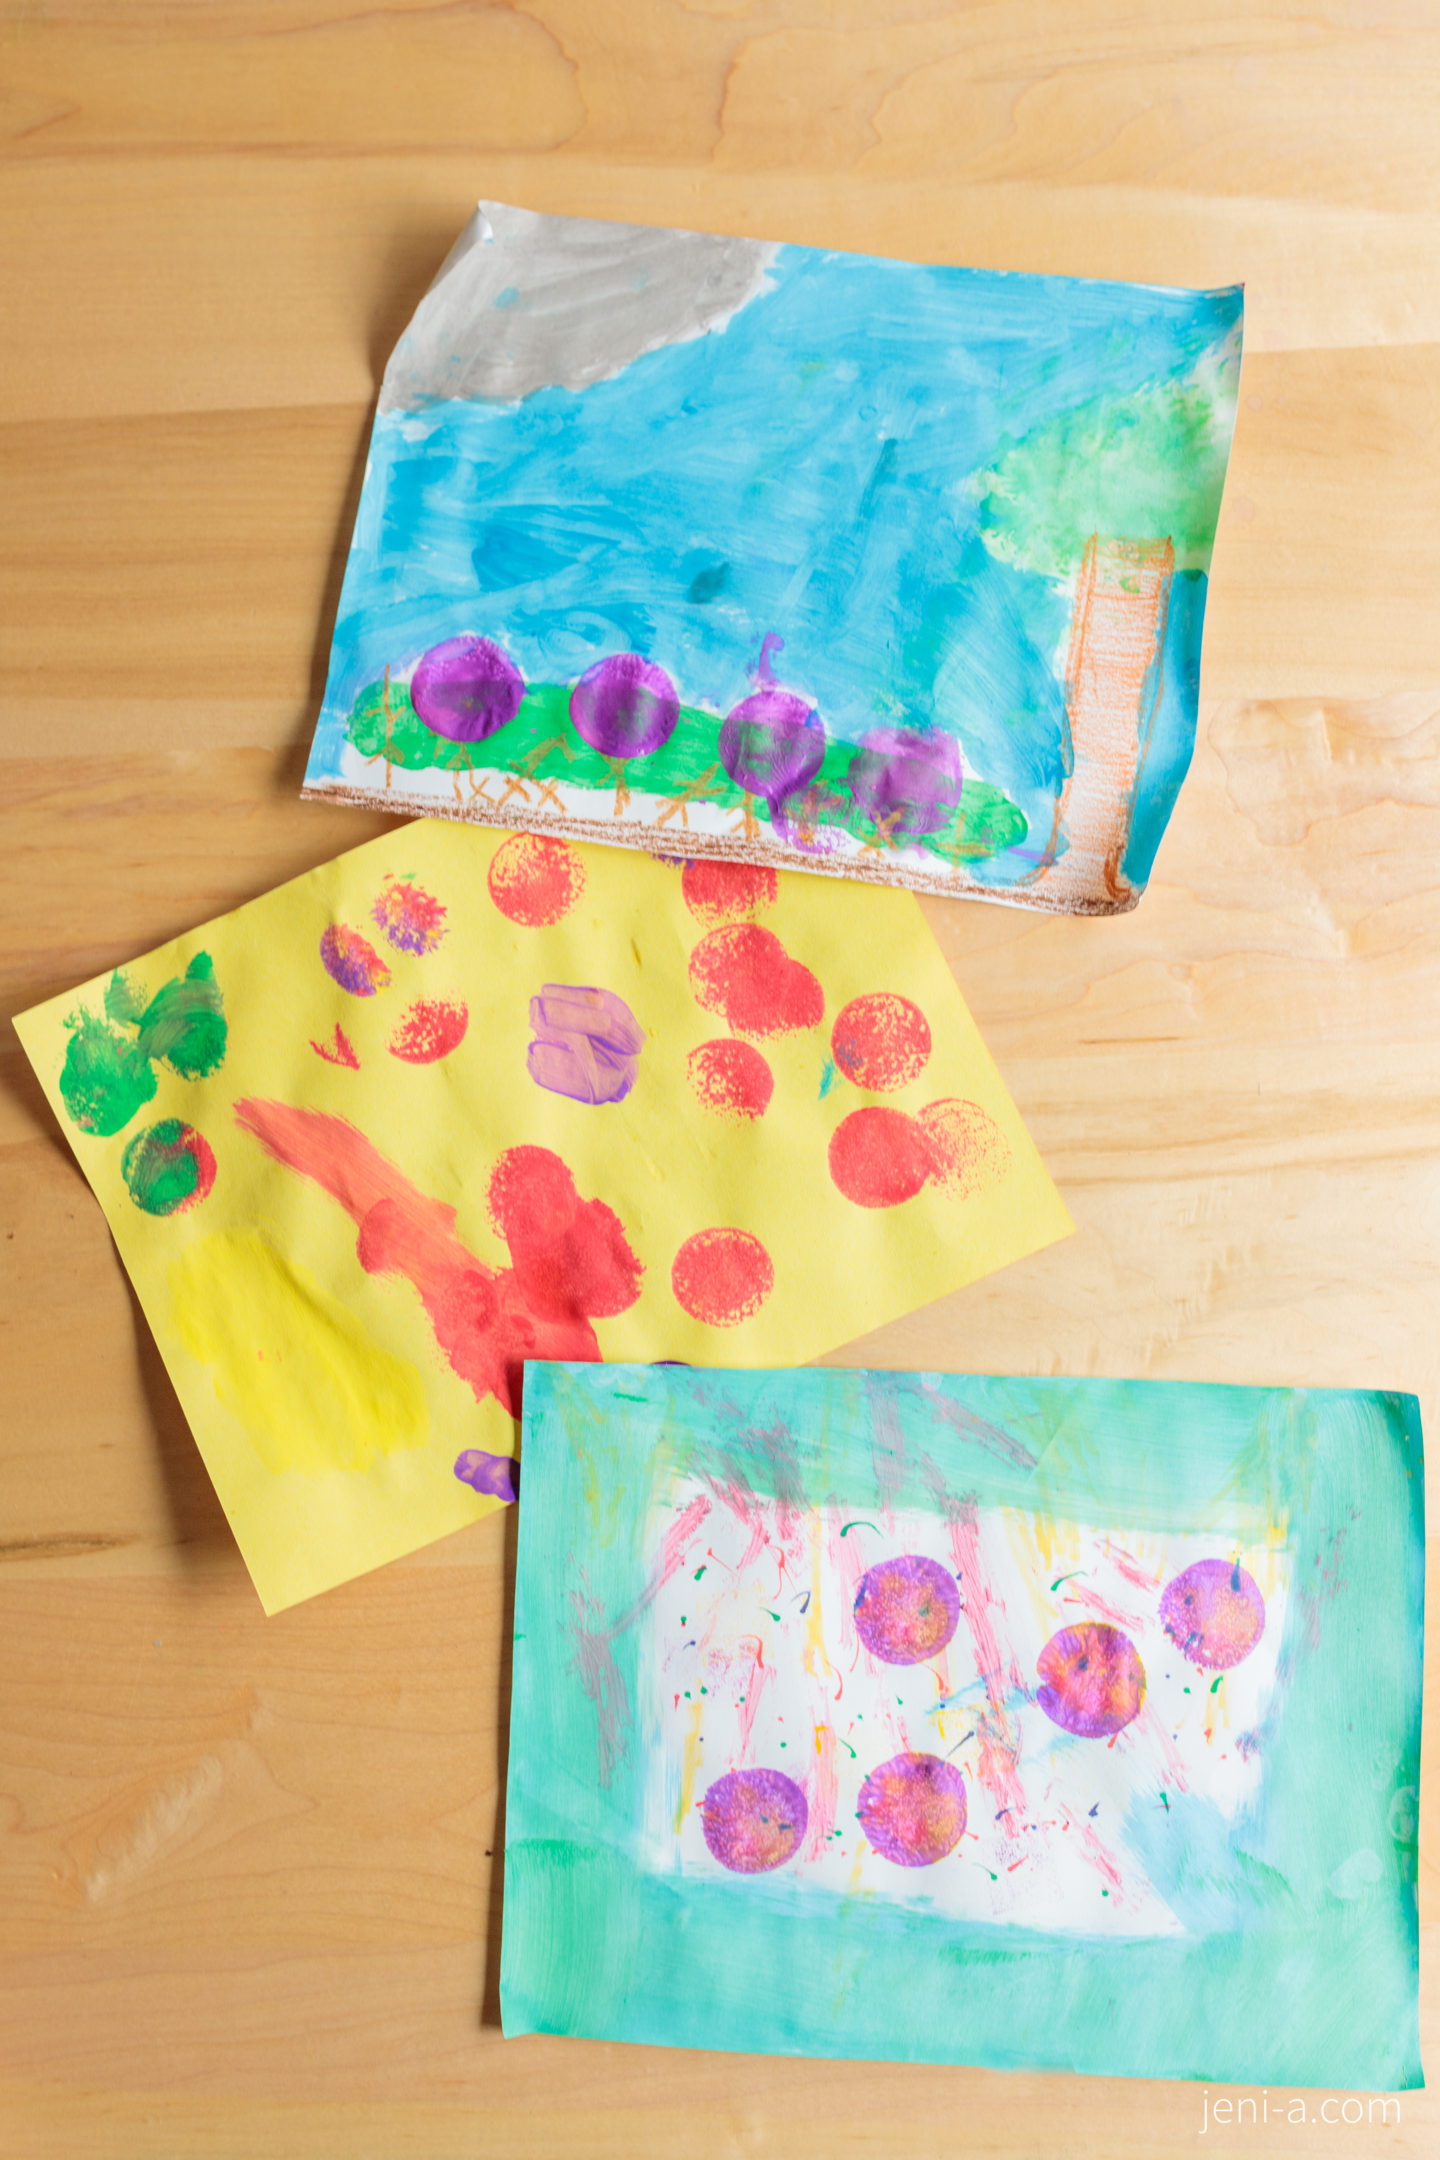
— Discuss art “mediums,” on that note! Teach that there are many mediums – or ways – to create and to be an artist. We made a list on my white board of different mediums: painting, sculpting, digital art (graphic design!), pencil art, etc. Then, pull out alllll the mediums you can for your kids and turn your plen air sketches into works of art! We used paint, markers, colored pencils, crayons and stamps…
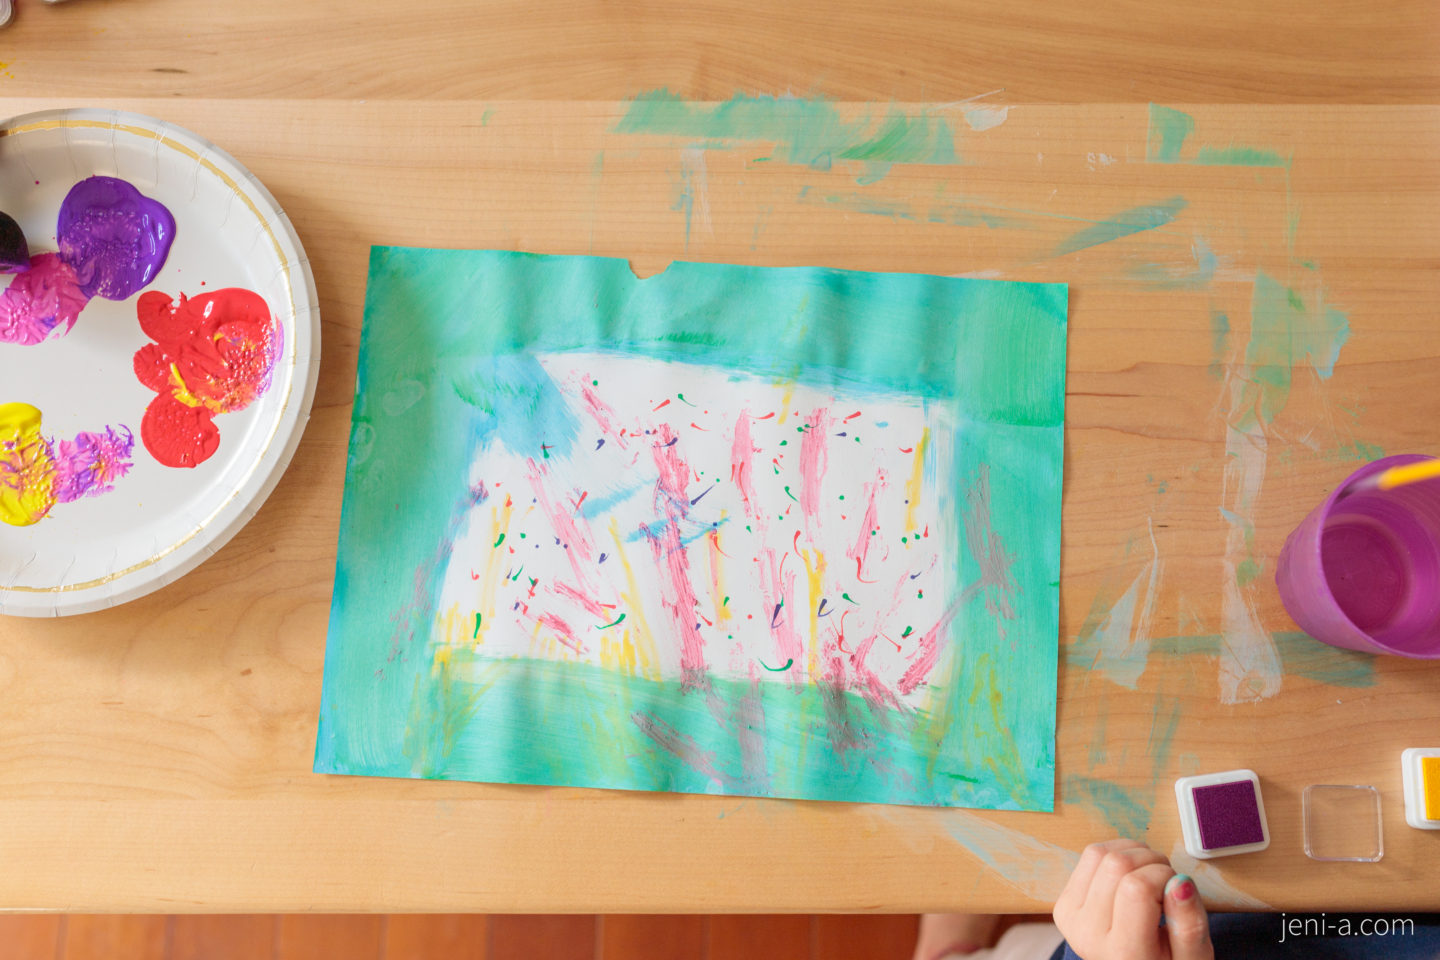
And we had a blast. See? Ta da! Olivia, Emmy and Claire’s works of art… 🙂
— Take an online drawing lesson from a real artist! Pull up a chair now and sit with a real artist online and take an art lesson from them! Such a cherry on top to an already super fun art lesson; my girls LOVED this part of our class. Here are our go-to artists and their drawing lessons…
“Raising Wonder” drawing classes by Sarah Jane. Sarah Jane is a friend of mine and the illustrator of one of our favorite books (of which her husband is the author!), “Lola Dutch.” We love Sarah Jane!! You’ll love her, too.
“Lunch Doodles” with Mo Willems, the famous author and illustrator, who is such a character and fun to watch and learn from.
Art for Kids Hub — the girls loved the variety of characters offered on this YouTube channel. And the artist-dad made them laugh. Win-win. 🙂
Disney Animation Academy — another treasure trove of drawing tutorials, but these ones are all about Disney characters. The girls loved these, and their sketches turned out great (the steps are easy to follow)!
And with that — class is dismissed! 🙂
Thanks for learning alllll about art with us, friends. Hope you enjoyed it as much as we did!!
xoxox
PS, the next-up lesson — “B” is for “Bridges” — stay tuned!
